

Have a question?
Notified by email when this product becomes available
- Description
- Manual
- Shipping Policy
- Reviews
Note:
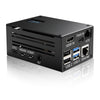
1. This audio kit is designed for Raspberry Pi 3 (3B+/3B), and the X10-I2S Board is connected to Pi 3 by the USB connector. Please refer to the picture shows.
2. This kit is also fit for Raspberry Pi 4, but due to the change of Pi 4 USB port, the USB connector is invalid and you need to use a USB Type A to Type A cable to connect Raspberry Pi 4 and X10-I2S Board.
3. In short, if the kit includes a X10-I2S Board and use with Raspberry Pi 4, you need to prepare a USB Type A to Type A cable to replace the USB connector.
User Manual: https://wiki.geekworm.com/X20-XLR
Does this kit support Raspberry Pi 4 Model B?
- 1. This audio kit is designed for pi3 (3B+/3B), and the X10-I2S Board is connected to pi3 by the USB connector. Please refer to the picture shows.
- 2. This kit is also fit for pi4, but due to the change of pi4 USB port, the USB connector is invalid and you need to use a USB Type A to Type A cable to connect pi4 and X10-I2S Board.
- 3. In short, if the kit includes a X10-I2S Board and it is use with pi4, you need to prepare a USB Type A to Type A.
X20-XLR DAC Board
Key Features:
- Please refer to https://wiki.geekworm.com/X20-XLR
X10-I2S BOARD XMOS USB TO I2S/SPDIF/Coaxial
Key Features:
- The XMOS xCORE-AUDIO Hi-Res family of parts
- Deliver precise output with low noise/distortion for soothing, high-quality sound
- Ideal HiFi audio solution for Raspberry Pi
- Streamed through Raspberry Pi to I2S, DSD and/or S/PDIF interfaces
- PCM up to 32bit /384 KHz sample rates (see notes)
- Native DSD, DoP64 and DoP128 (see notes)
- Up to 192 kHz, 16/24 bit resolution S/PDIF output
- Asynchronous Isochronous transfer from Raspberry Pi
- Multiple OS support (Volumio, Moode Audio Player, Windows, Android etc)
- SiTime SiT8208 ultra performance oscillator
- Texas Instruments ultra-low-noise voltage regulator
Specification:
- Power supply: +5Vdc +/-5%
- CODEC: I2S 16, 24, or 32 bit PCM, DSD64 and DSD128
- PCM sample rates : 44.1, 48, 88.2, 96, 176.4, 192, 352.8, 384KHz
- Optional S/PDIF output : Up to 192 KHz; 16/24 bit resolution
- PCBA size : 101.5 x 56mm x 34.5mm, PCB size : 85 x 56mm
- Notes: Not applicable for X10-DAC. PCM up to 24bit /192 KHz sample rates when works with X10-DAC.
Hardware Installation
Note: you need to get a R-core transformer yourself
Or you can buy one online, please refer to: X10-RTR Power Supply Unit

IMPORTANT !!!(Read Me)
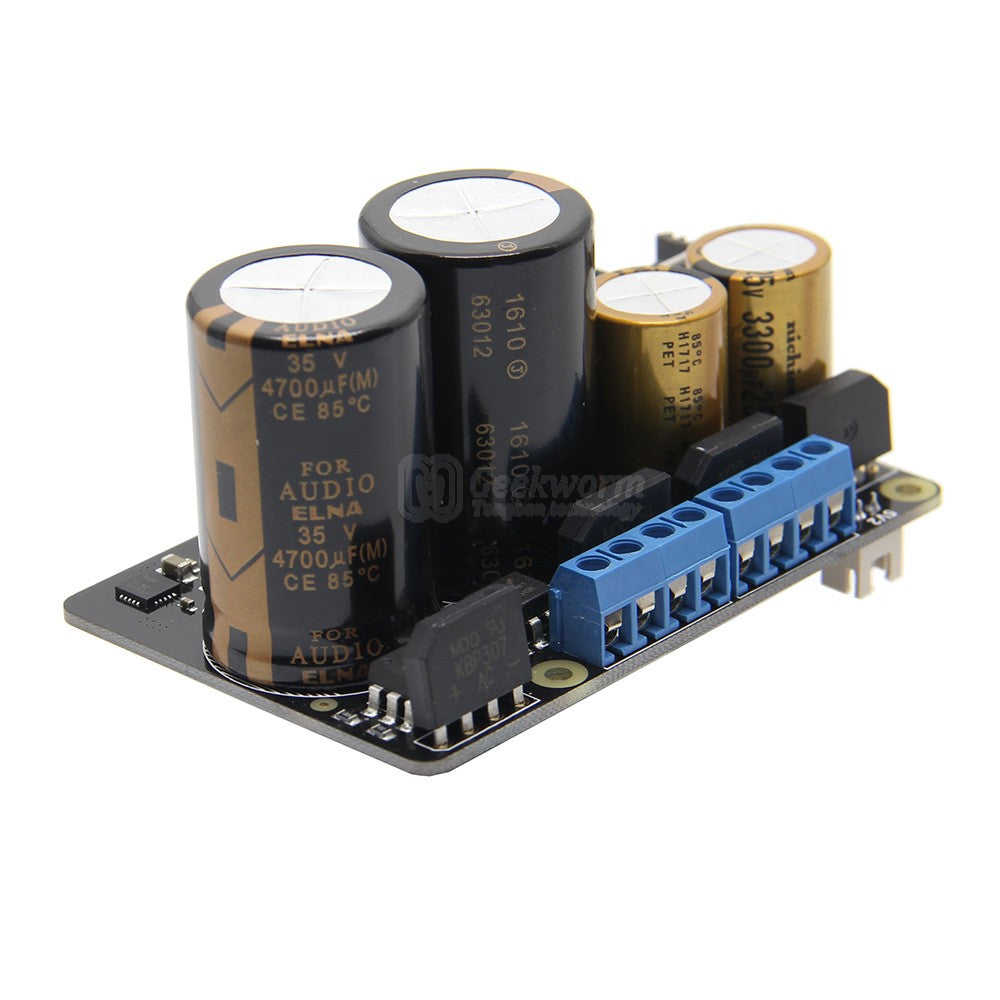
Connect the R-core transformer to the X10-PWR board
- Make sure all ports on terminal block are open (Turn clockwise to tighten, counter-clockwise to loosen).
- Insert wires into the terminal block in the correct order.
- Tighten down the screws the wires you have inserted. Try pulling each wire out of terminal block in order to insure that they are fastened securely.

White - White : 15VAC 0.55A
Yellow - Yellow : 15VAC 0.55A
Brown - Brown : 6VAC 0.5A
Grey - Grey : 6VAC 2.58A
Power Supply Unit 35W R-CORE transformer:
IMPORTANT !!!
AC voltage Selector
110V : AC input voltage MUST be 110~120VAC
220V : AC input voltage MUST be 220~230VAC
a) Make sure that you know what voltage is being supplied by the power outlet before setting the voltage selector switch and before connecting the power cord.
b) To switch the selection, unplug the power cord and use a small screwdriver to slide the switch to the opposite position.

Before pressing the power button:
a) All AC output wires to the X10-PWR board are wired in the correct order.
b) The power cable from X10-PWR board to Raspberry Pi pin header are correctly connected.
c) The AC input voltage selector switch are correctly switched.

Software Configuration

Volumio (Version: 2.368)
Select the“PLAYBACK OPTIONS”menu, Turn off "I2S DAC" and select "xCORE-AUDIO Hi-Res 2" under“Output Device.” Then reboot and you are done.

Moode Audio Player (Version: 3.1)
Simply select the“Configure”menu, select "MPD" under "configuration settings", then select "USB audio device" under "Audio device", Then click “APPLY" and reboot.

Please email to us at info@geekworm.com if you have some questions.
We send orders to worldwide with tracking number.
For detail refer to Shipping Policy


